【WordPress】Contact Form 7でお問い合わせフォームを作ってみる
目次
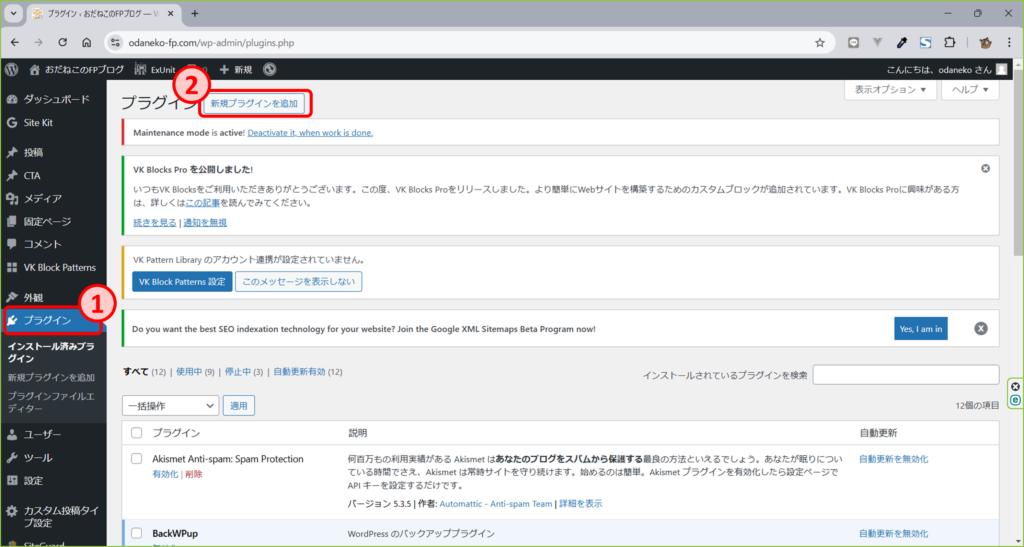
プラグイン「Contact Form 7」を追加する
ダッシュボードのプラグインのページの新規プラグインを追加をクリックします。
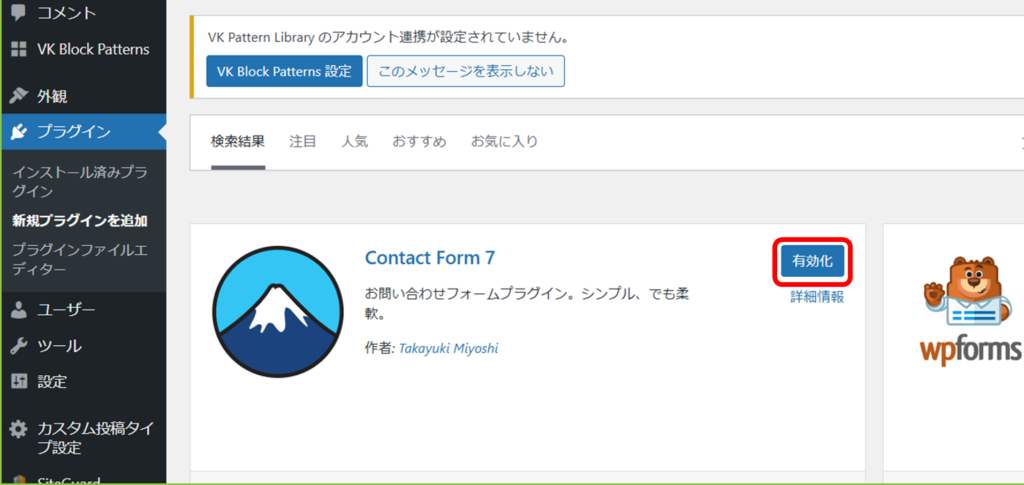
プラグインの検索にcontactと入力すると、おそらく一番左上にContact Form 7が表示されるので、それの今すぐインストールをクリックします。

インストールが完了するとボタンが有効化に代わりますので、有効化をクリックします。
お問い合わせフォームの部品を作成する
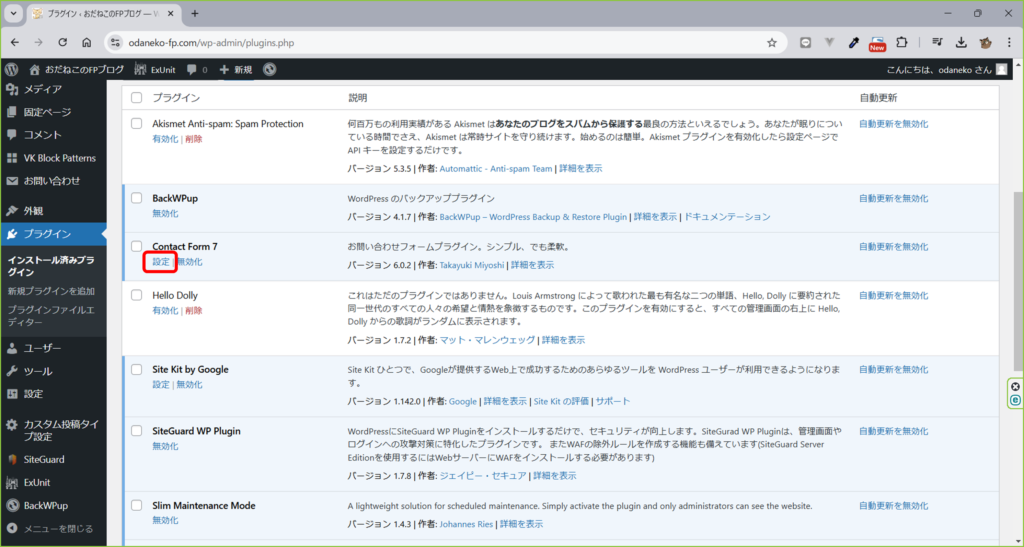
プラグインの一覧からContact Form 7の設定をクリックします。
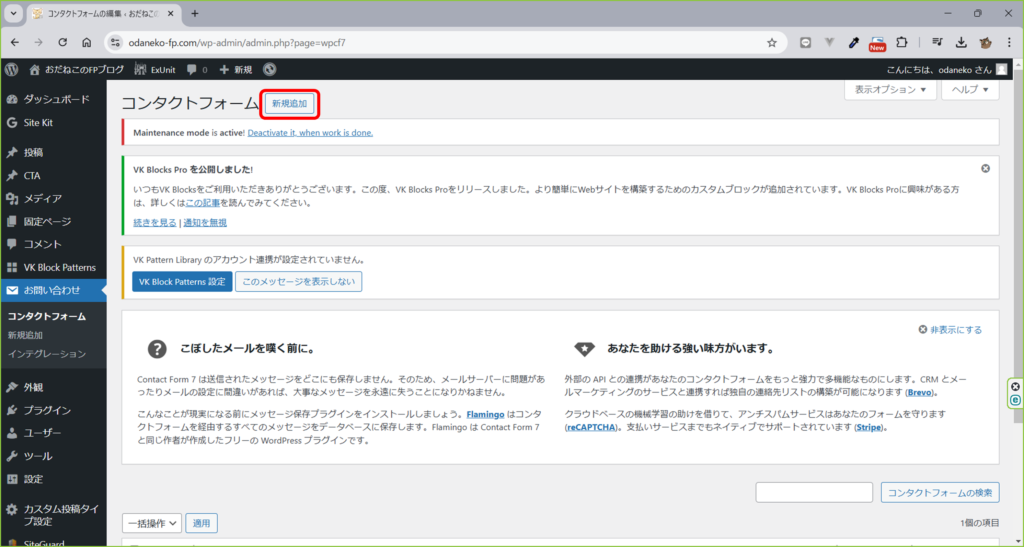
新規追加をクリックします。
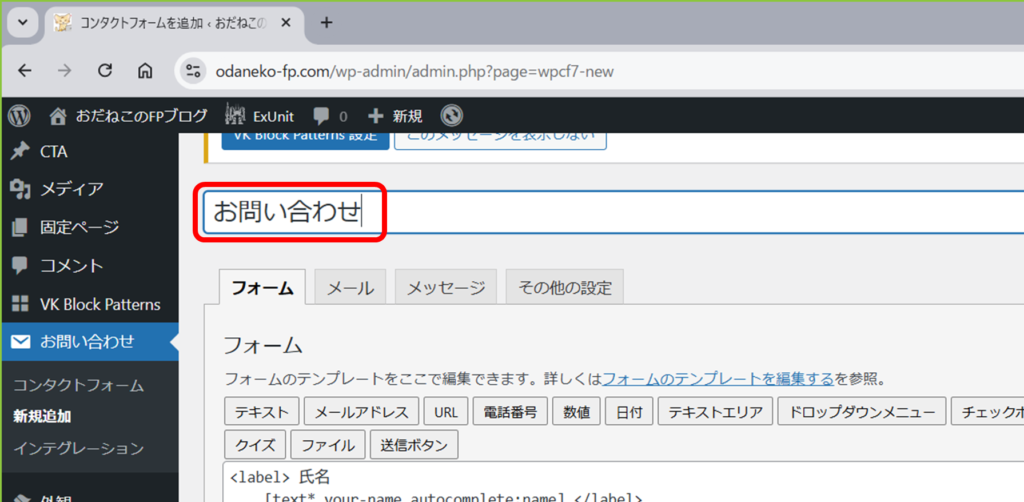
フォーム名にわかりやすい名前を付けます。
なんでもいいのですが、私は「お問い合わせ」にしました。
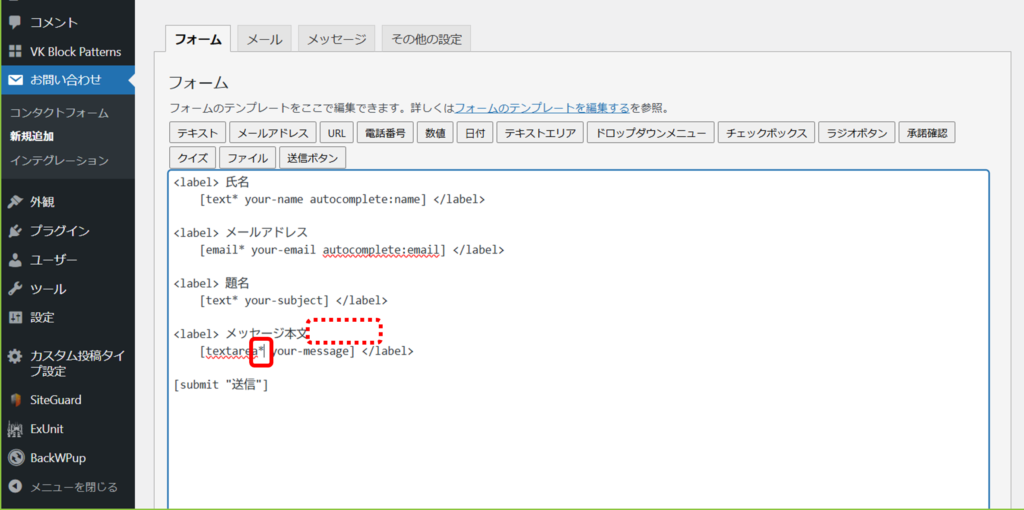
今度はフォームの中身を作成していきます。
デフォルトで用意されている項目で十分ですが、メッセージ本文がデフォルトだと任意項目になっているので、必須項目に変更します。
メッセージ本文を必須項目に変更するための修正は下記の2つです。
- メッセージ本文の(任意)を削除する(←見た目の話)
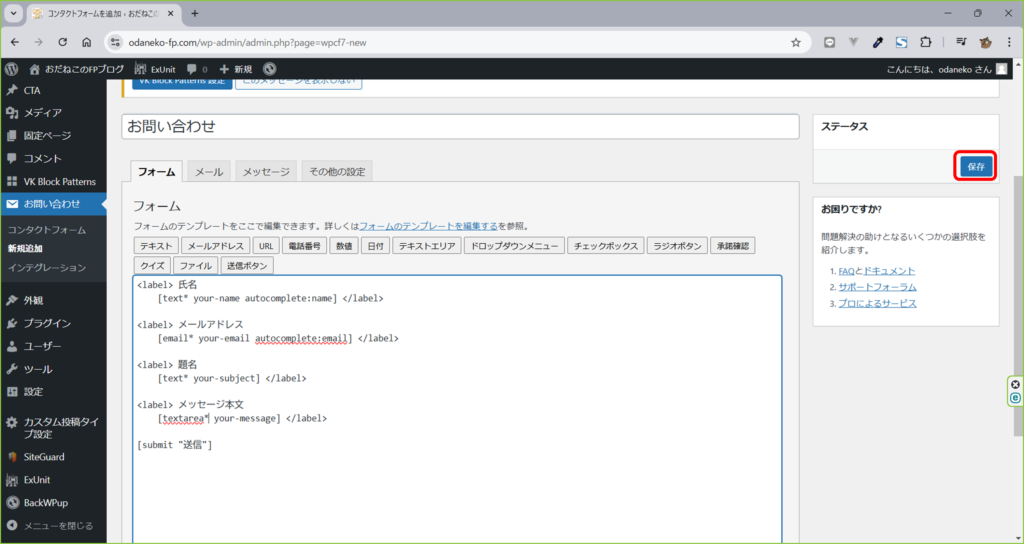
- メッセージ本文のtextareaの後ろに*を追加する(*をつけると必須項目となる)
右側の保存ボタンをクリックします。
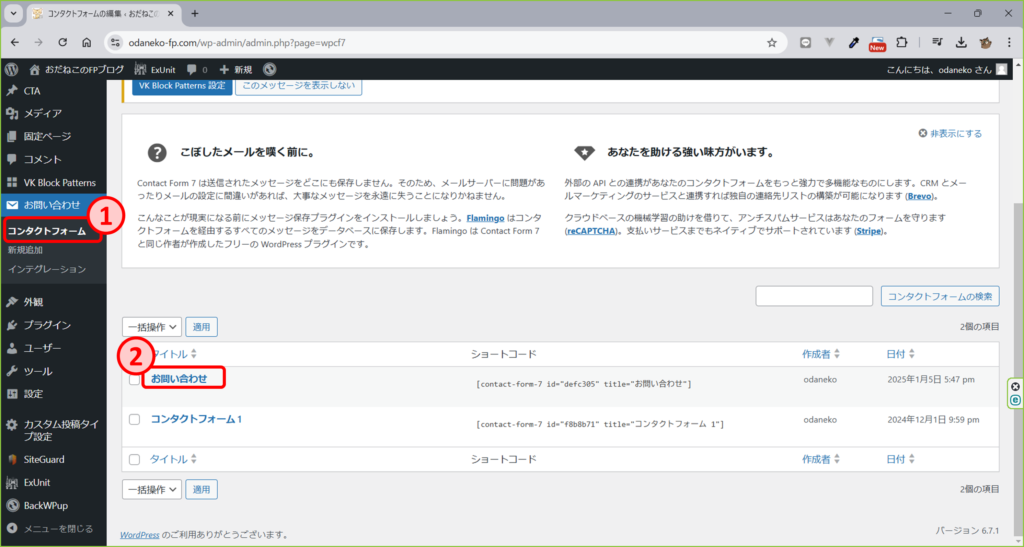
メニューのコンタクトフォームをクリックし、作成したお問い合わせフォームが一覧に存在することを確認します。
なお、コンタクトフォーム1はサンプルとして用意されているものなので気にしなくてOKです。(邪魔なら削除してもOK)
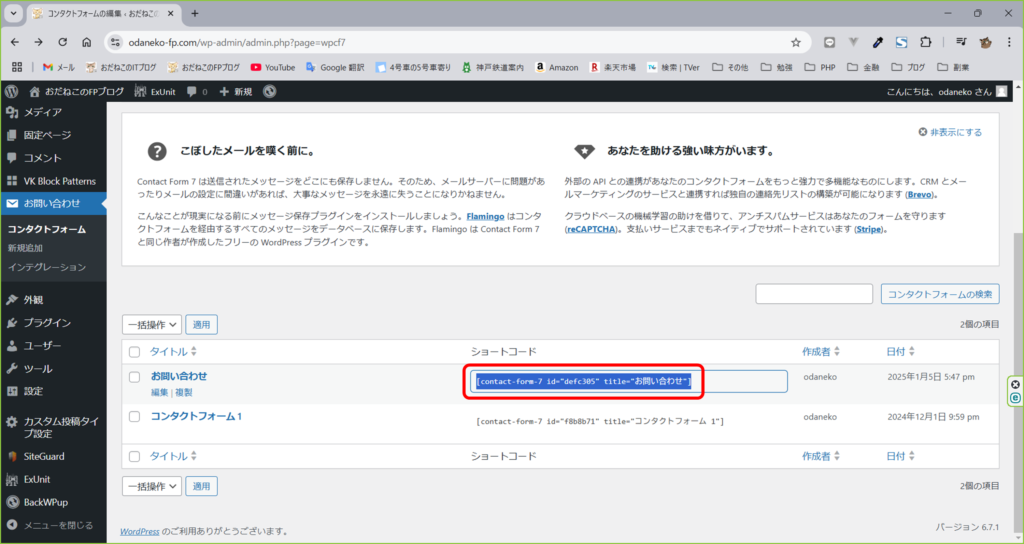
先ほど作成したフォームのショートコードをコピーします。
このショートコードはあとで使います。
お問い合わせフォーム(ページ)を作成する
お問い合わせ用の固定ページを作成します。
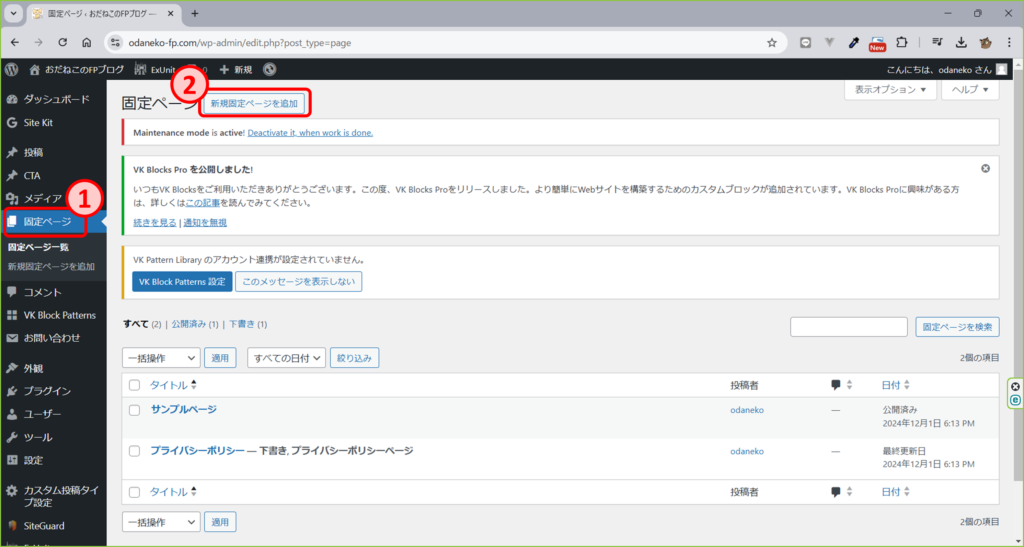
ページのタイトルはなんでもいいですが、私は「お問い合わせ」にしました。
本文に先ほど作成したお問い合わせフォームを埋め込んでいきます。
埋め込みにはショートコードというものを使っていきます。
ブロック追加(プラスボタン)をクリック→ショートと入力→ショートコードをクリックします。
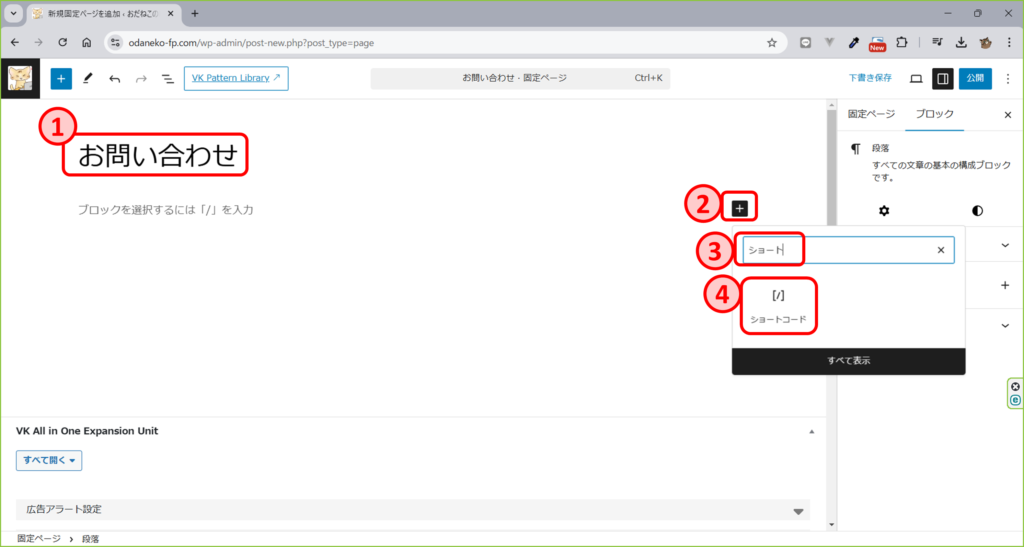
↓のブロックが挿入されます。
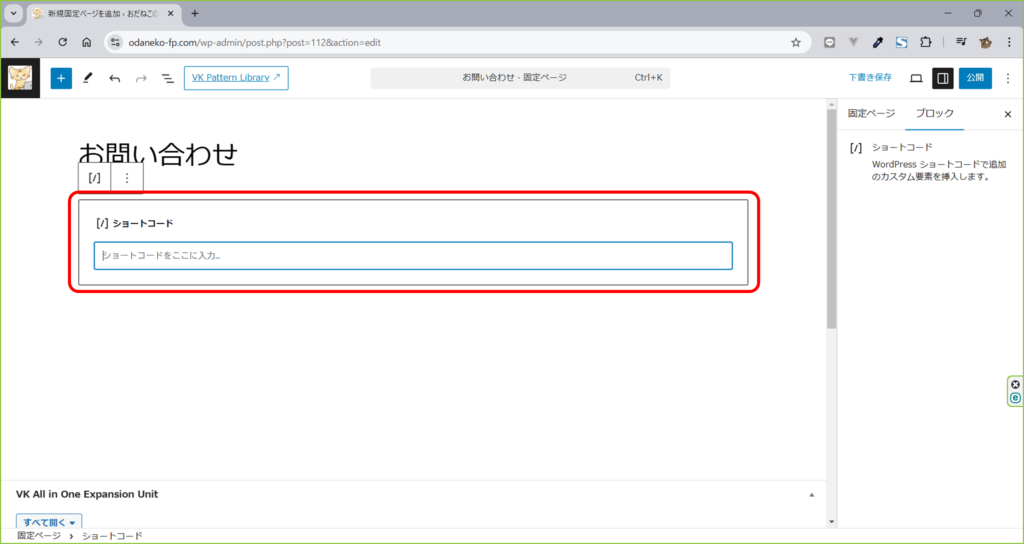
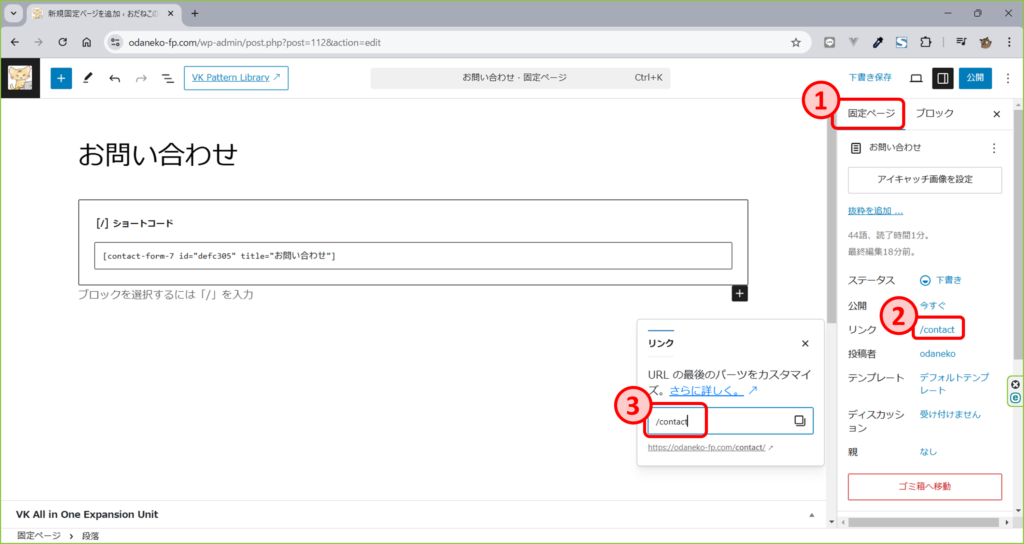
先ほどコピーしたショートコードを入力します。
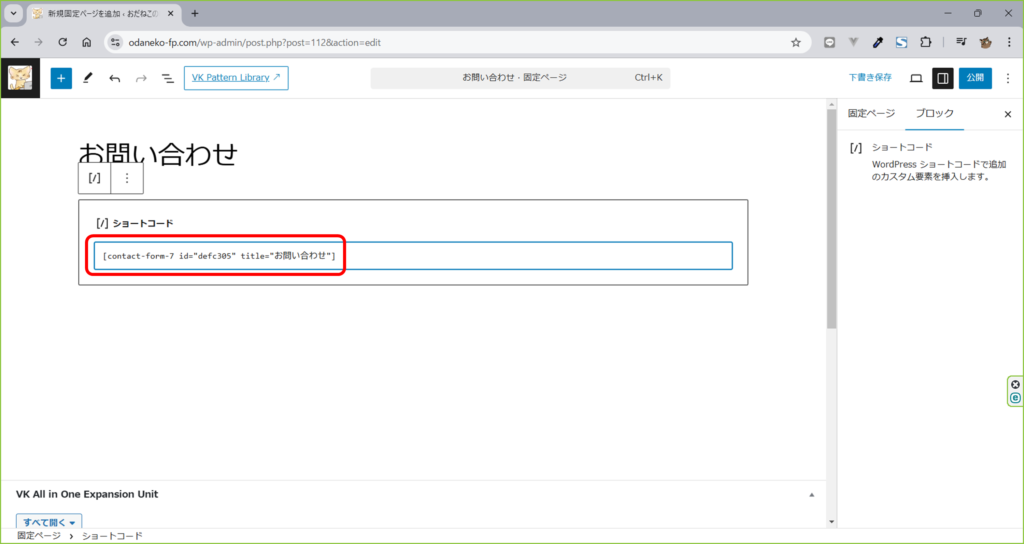
ここは好みの話ですが、リンク(URL)をcontactに変更します。
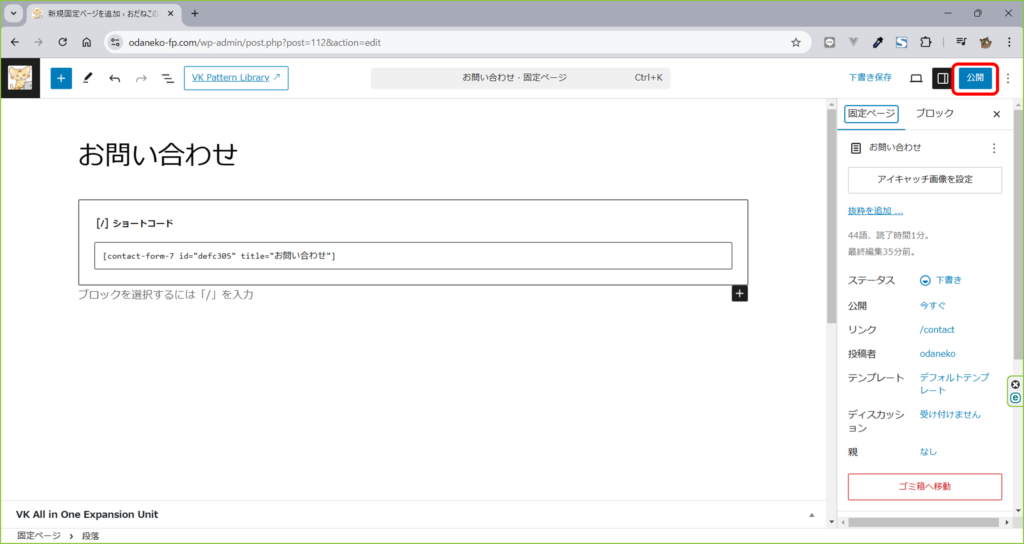
右上の公開をクリックします。
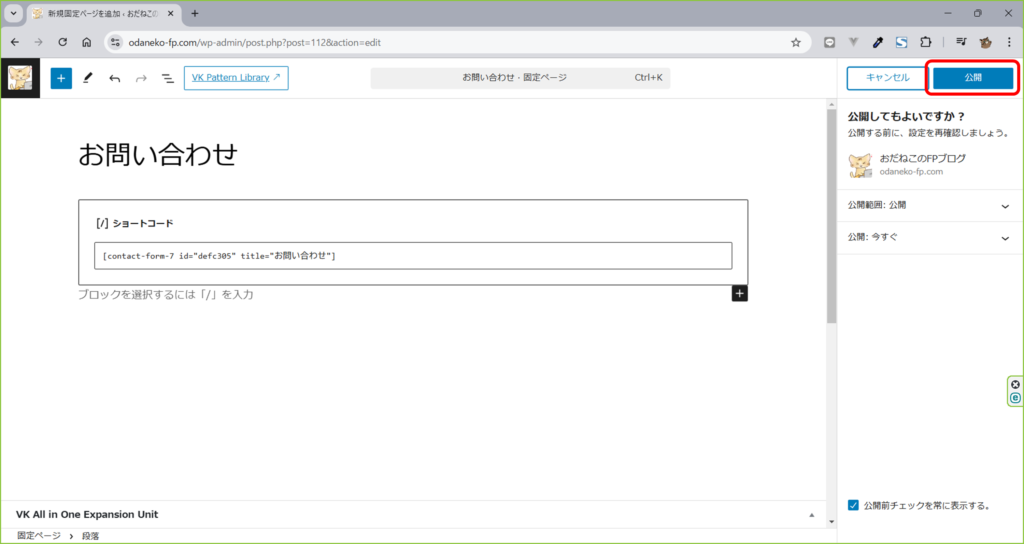
もう一度、右上の公開をクリックします。
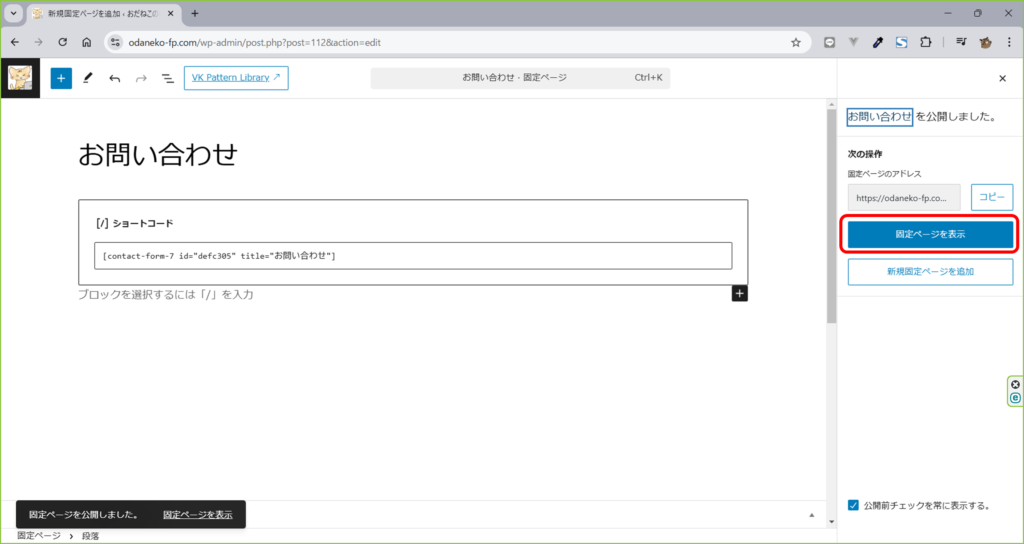
公開した固定ページを確認する
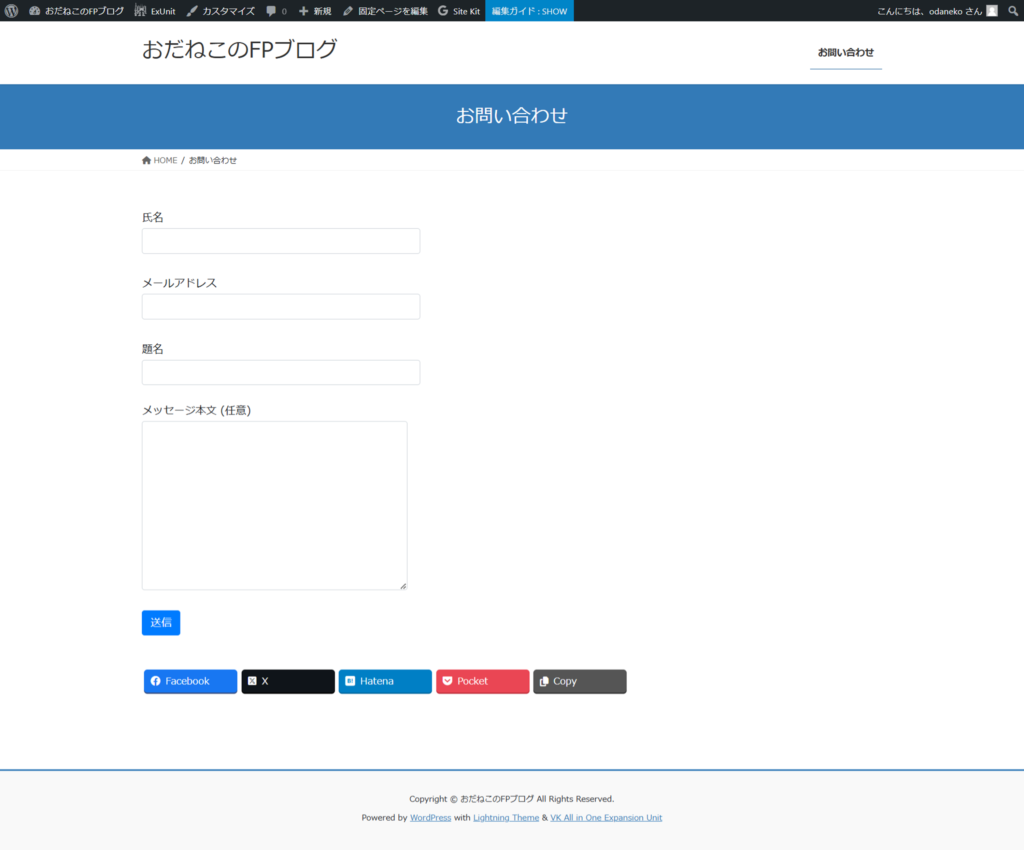
固定ページを表示をクリックします。
下記のようになっていればOKです。
実際にフォームを使ってみる
作成したお問い合わせフォームを実際に使ってみます。
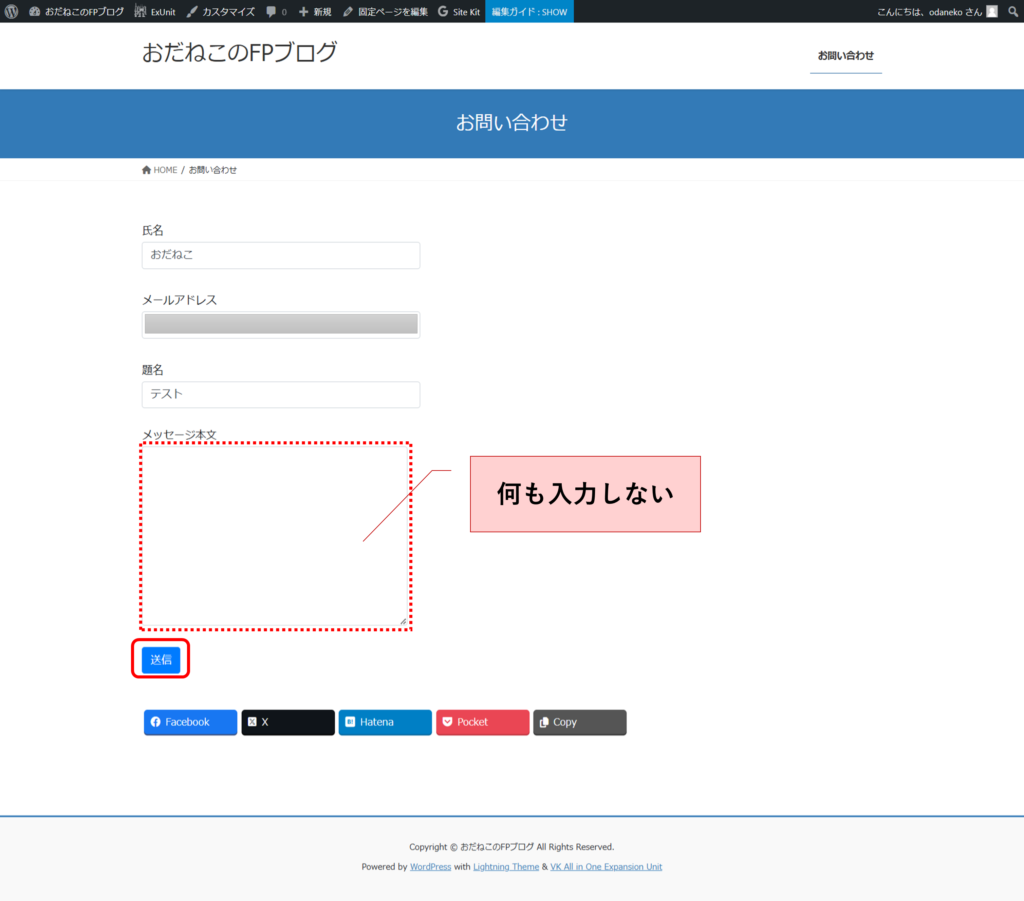
氏名、メールアドレス、題名を適当に入力します。
メッセージ本文は何も入力せずに、送信ボタンを押してみます。
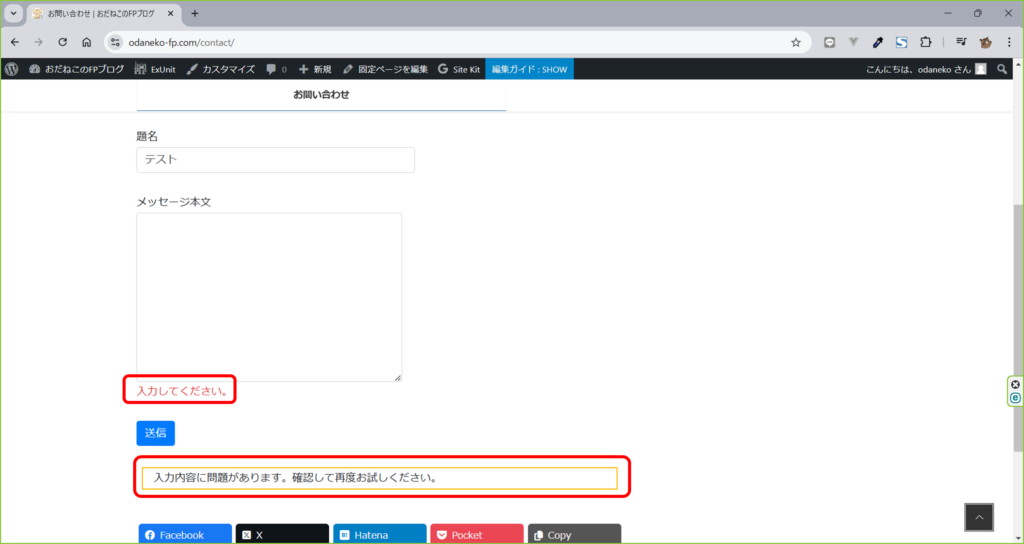
メッセージ本文の必須項目設定がうまくできていれば、送信はされずに下記のようなエラーが表示されます。
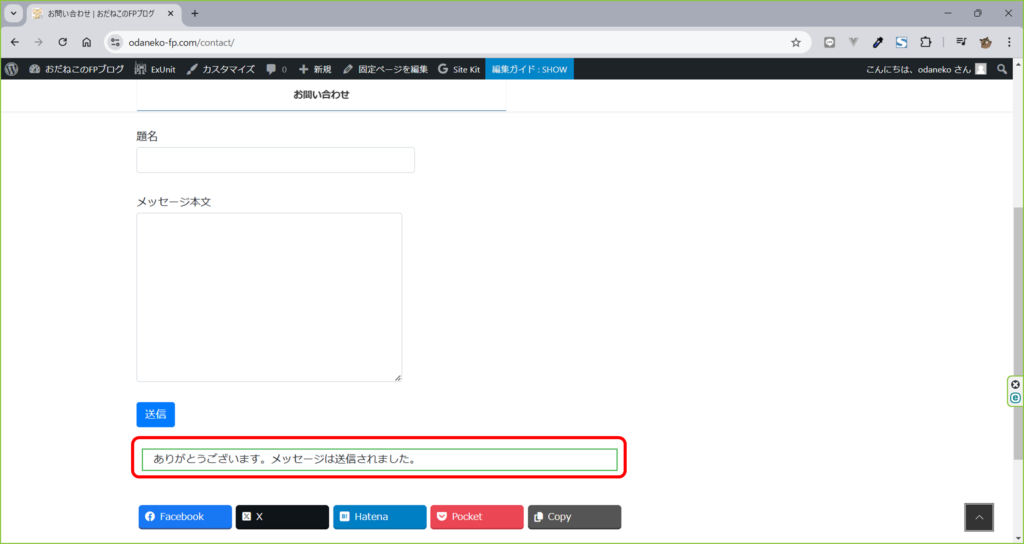
今度はメッセージ本文を適当に入力してから送信ボタンをクリックしてみます。
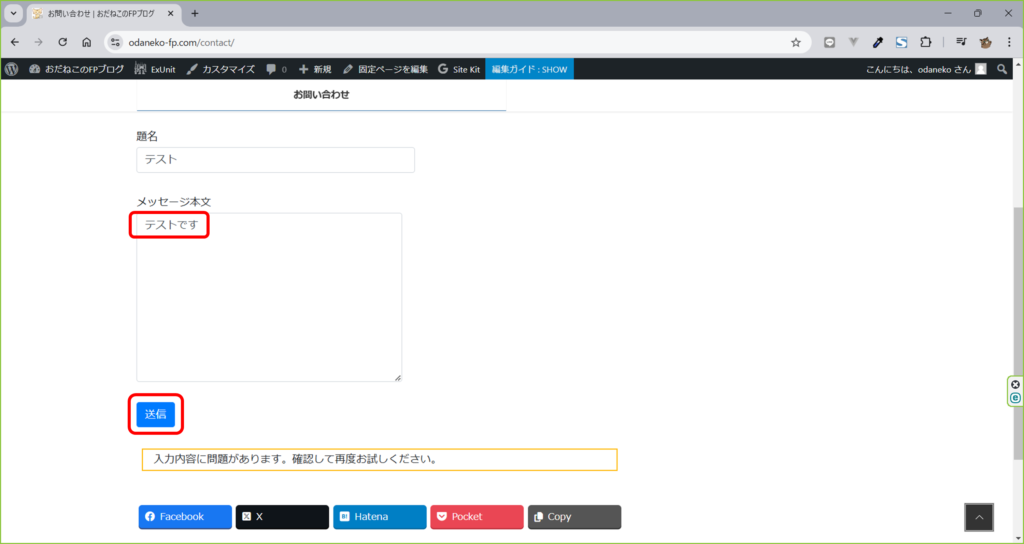
今度は問い合わせが送信され、下記のようなメッセージが表示されると思います。
送信された問い合わせを確認する
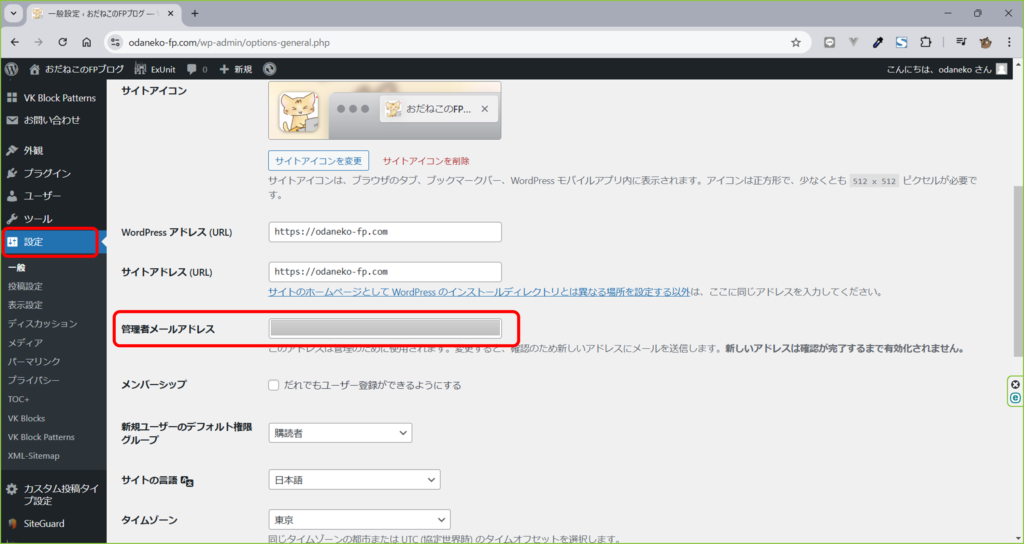
問い合わせは設定の管理者メールアドレスに設定されているメールアドレス宛にメールで送られます。
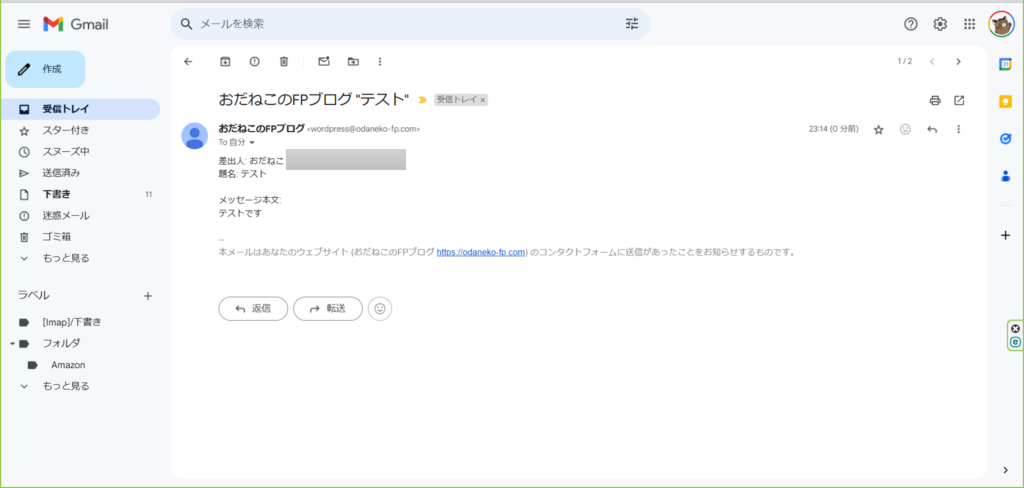
Gmail上で見ると下記のようなメールが送られてきます。
以上になります。
お読み頂き、ありがとうございました。