
【FastAPI】pytestを使ってみる
目次
環境
下記の記事で作成したDocker上で動くFastAPIの環境。
pytestをインストール
requirements.txtにpytest系を追記
pytest
pytest-asyncio
httpx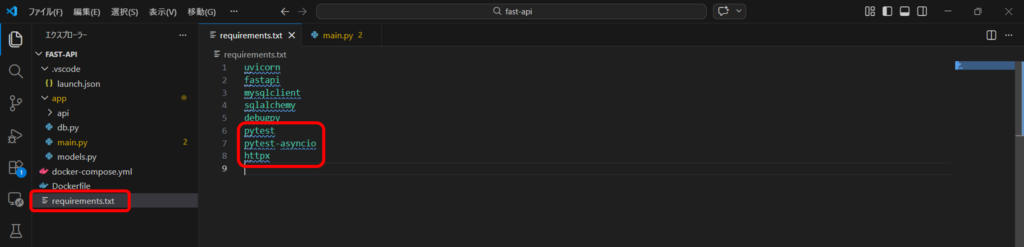
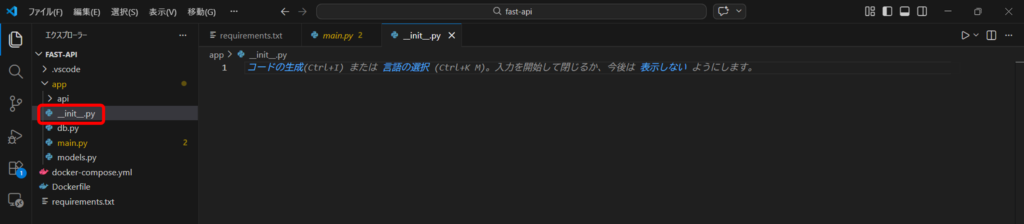
__init__.pyファイルをappフォルダに作成
pytestにapp配下のモジュールを認識させるために必要なファイルである__init__.pyファイルを作成。
DockerfileにPYTHONPATHを記載
import処理がうまく動くようにDockerfileに下記を記載。
ENV PYTHONPATH=/app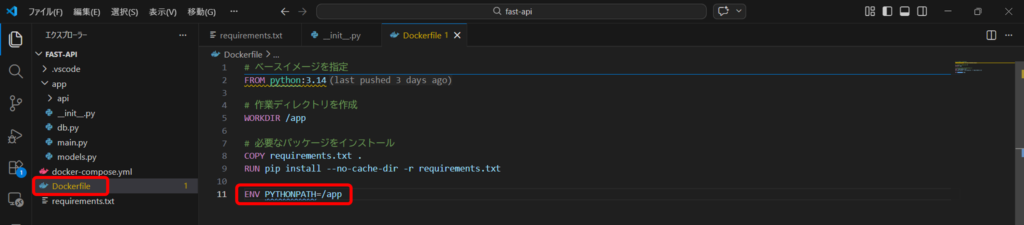
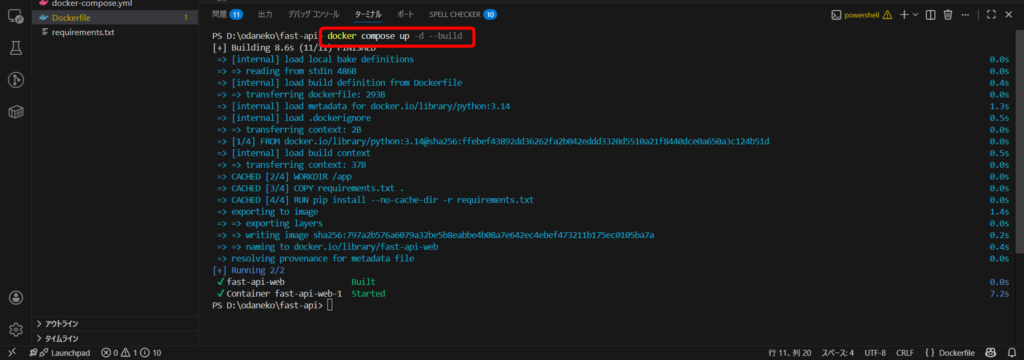
インストール(ビルド)
インストール確認
コンテナに入る
docker compose exec web bash
バージョン確認
バージョンが返ってくればOK。
pytest --version
テスト用のAPI作成
成功したら「OK」が返ってくるAPIを作成。
@app.get("/test")
async def test():
    return {"result": "OK"}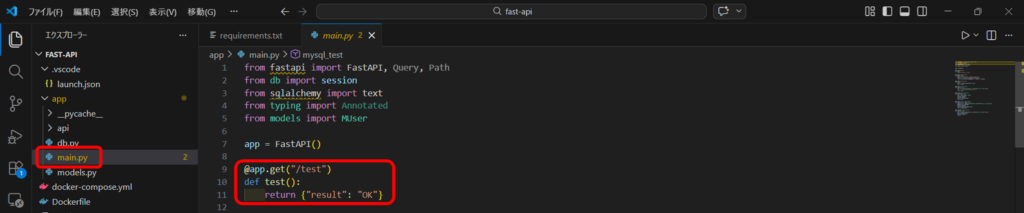
テストコードを作成
appフォルダ配下にtestsフォルダを作成。
testsフォルダにtest_main.pyを作成。
test_main.pyを下記の内容で編集。
from fastapi.testclient import TestClient
from main import app

client = TestClient(app)

def test_root():
    response = client.get("/test")
    assert response.status_code == 200
assert response.json()["result"] == "OK"pytest実行
コンテナの中で下記コマンドを実施。
pytest teststestsフォルダの配下全てを実行するので引数はtests。
testsフォルダに移動してから実行するのであればpytestのみでOK。
赤色のメッセージが出ていなければテストは正常ということを意味する。

以上になります。
お読み頂き、ありがとうございました。